
Need affordable, doable, easy and relaxed decor? Need a gift or something for the upcoming holiday?
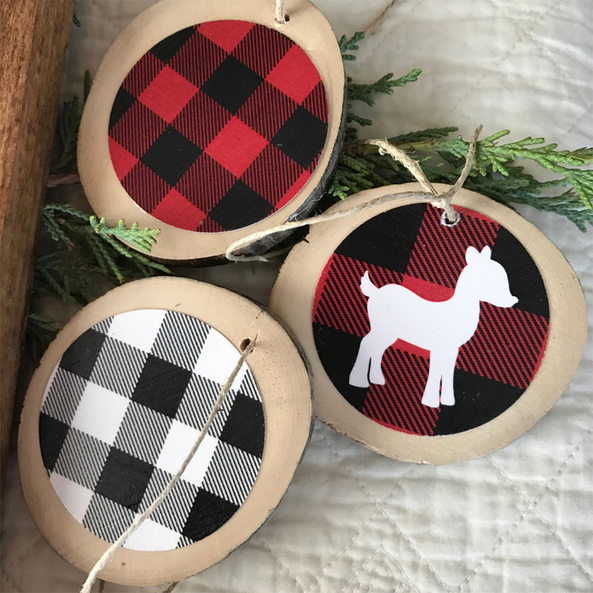
I use the term "tutorial" loosely here, lol. I put these buffalo plaid Christmas decorations together the other day and snapped a couple of pics in the process. 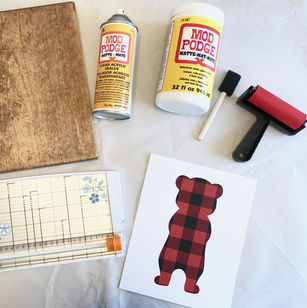
Wood Plaque Supplies:
1. Buffalo Plaid printable art from my Etsy shop. This works best if printed on a laser printer so that the Mod Podge doesn't smear the print. However, if you don't have a laser printer you can either spray it with acrylic sealer first or have it printed at Kinko's. 2. A scrap piece of wood about .75 inches thick, sanded and stained, mine measured about 9x11.5 3. Mod Podge water base sealer. 4. Acrylic sealer. 5. Mod Podge brayer, I can't emphasize what a difference having this tool makes so that the print doesn't wrinkle or bubble when you apply the Mod Podge. 6. Use the steps in this youtube video (made by the kind folks at Mod Podge ) to apply the paper to the wood. Mod Podge is sometimes a little tacky to the touch even after it dries, so you can finish it all off with acrylic sealer if you want to. 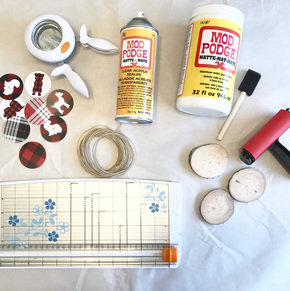
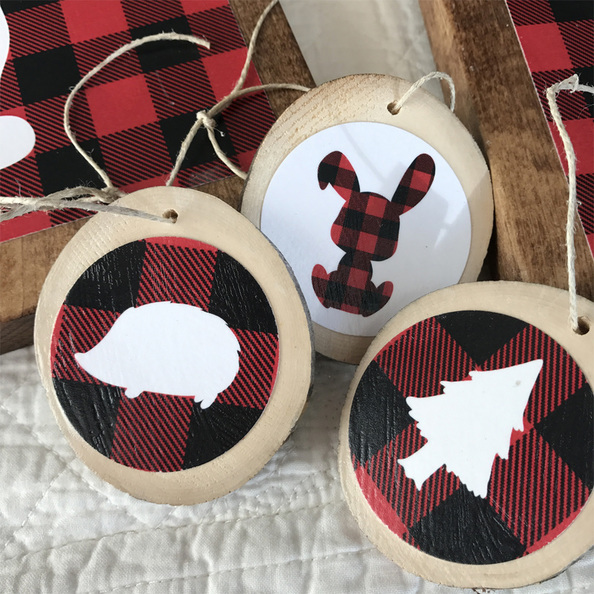
Wood Slice Ornament Supplies:
1. Buffalo Plaid printable collage sheets from my Etsy shop. 2. 2 inch punch...see photo below. 3. Wood slices. I procured mine via a "honey-do" list...however, I have seen them on Amazon and I imagine you could get them at a craft store. 4. Mod Podge, Acrylic sealer and brayer (same as above). 5. Ribbon or twine of your choice. 6. Follow the instructions above...trust me and watch the video! 
This Fiskars Squeeze Punch makes cutting out the circles so easy! Center the image you are punching and squeeze to punch it out.
0 Comments
Leave a Reply. |
Archives
December 2016
Categories
All
Click below to follow me on Pinterest!

Welcome!I'm Rachel, the lucky duck mom of four little turkeys. |
 RSS Feed
